Windows 10 supports screenshots the same way every smartphone does. Although 3rd party apps are most popular solutions to taking screenshots and perform on-screen recording tasks, it’s possible to perform your tasks without slowing down your PC due to specific running software.
Well, to take a screenshot on your Windows 10 computer, you need to have an image handling app like any Microsoft office software or the system’s default Paint App to crop or resize your Screenshot.
Though Paint grew to popularity on Windows XP and earlier versions, the software still functions best even with the latest Windows 10 releases.
Taking a Screenshot on Windows 10
- Press the Print Screen ( Prt Scrn) button on your keyboard.
- To Instantly save the screenshot, hold the Windows key + Prnt Scrn buttons at the same time.
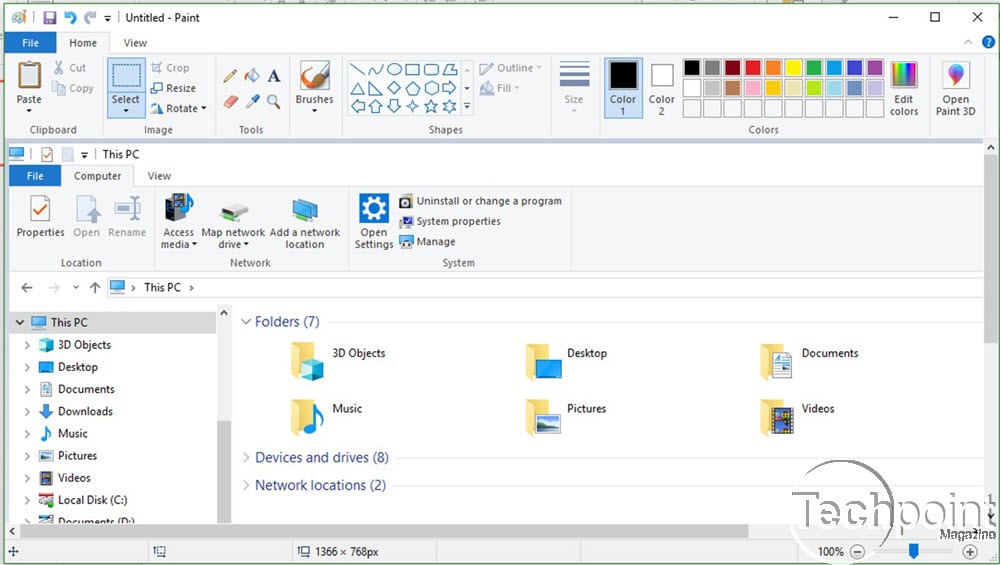
- Once done, open any image handling software like Paint or Microsoft PowerPoint.
- Right click and Paste or hold Control + V to paste the captured screenshot.
- Your screenshot is displayed, and ready for post-editing.
- Crop any unwanted areas and make any relevant changes.
- Once done, right-click on the image and select Save Picture As.
- Choose a folder to save your screenshot to.
- DONE: Your new screenshot is saved on your computer in the folder you just selected.
Just like that, you can capture awesome Screenshots and edit them with ease through any application such as paint to your liking. In case you want to instantly save your captured screenshot in a directory, simply hold the Windows key + Prnt Scrn buttons.
However, 3rd party apps help you mark specific areas you wish to capture in your screenshot and not a full-screen capture. But incase you prefer post-editing then, processing your Screenshot with paint or any other App becomes your perfect gateway.