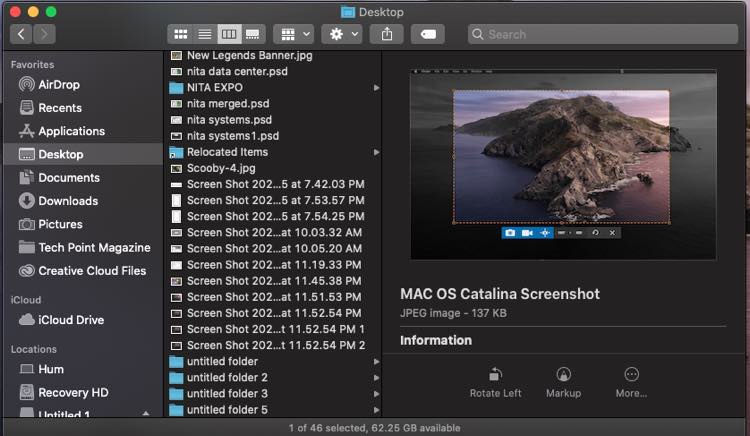
You can take a screenshot on macOS whether you are running the is the latest Apple OS X Operating system or an older version installed on older devices. Newer operating system not only ship the dark mode display, but also pack a pile of upgrades including a refreshed screenshot module that can be accessed in the same old style.
Unlike earlier macOS releases, latest macOS versions have a floating bar for screenshots that allows you to carry out post revisions per capture. To cut the long story features sheet short, here is how you can capture a Screenshot on your macOS powered Macbook or iMac.
Use the default mac OS Screenshot keys
- On your Keyboard, press Command + Shift + 5.
- Then, choose your desired screenshot area by dragging tool’s edges.
- Click Capture to take a screenshot.
- Done: Your Screenshot is saved to your preset location.
Once you press Command + Shift + 5 to access the screenshot capture window, a small floater will appear on your bottom right screen that allows you to send the capture to a separate directory, copy to the clipboard or Open in preview.
Where your screenshots are saved on macOS

By default, your screenshot will be saved to the desktop. However, you can choose a different storage folder by accessing the options tab on the screenshot capture window ( Cmd + Shift + 5 )
If you find trouble accessing the macOS screenshot shortcut, you can install 3rd party apps like Snagit from the Apple store to help you capture screenshots on your Macbook or iMac.
