Did you know you can create a WiFi hotspot on Windows 10 using the command prompt (Cmd) to share your active Internet connection? Well, this helps you connect other devices like your Smartphone, Smart TV, or other wireless equipment you wish to connect to the Internet.
By default, Windows 10 ships a Hotspot feature located on the notifications pane, but this may fail to work on some computers depending on the onboard specifications. Hence, using the command prompt to create a WiFi hotspot is an ideal path on Windows 10.
The feature was first introduced in Windows 7 and trolled through Windows 8, 8.1 to Windows 10. Through the command prompt, you will be able to set a custom Network SSID (Identifier or Network name), password and security type to connect with other devices that can use your Internet connection.
Even though the feature may seem complicated, if you’re familiar with the Windows command prompt, it will be easy to get your first WiFi Hotspot running on Windows 10. Once opened as an Administrator, your created Wifi Hotspot on Windows 10 will create a new virtual network adapter with settings you can customize at any timeframe. Nevertheless, here is how you can get started.
Create a WiFi Hostpot on Windows 10 through the command prompt
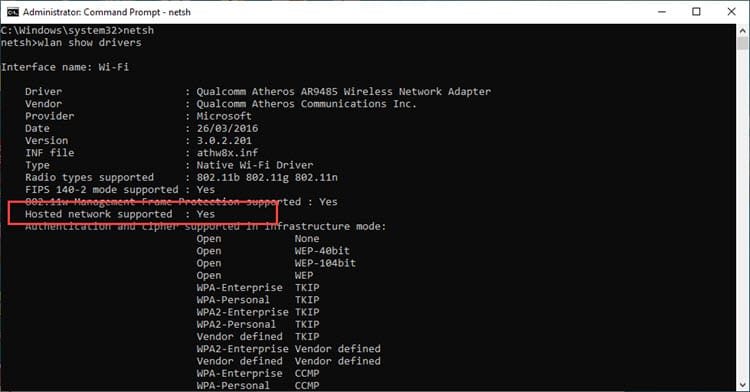
First, open the Windows command prompt by pressing the Windows button + R to open a run window, in it, insert cmd as your entry. Once the command prompt is open, use the Netsh Wlan show drivers command and locate a hosted network support field, it must be YES, If No, your network card will be unable to create hotspots.
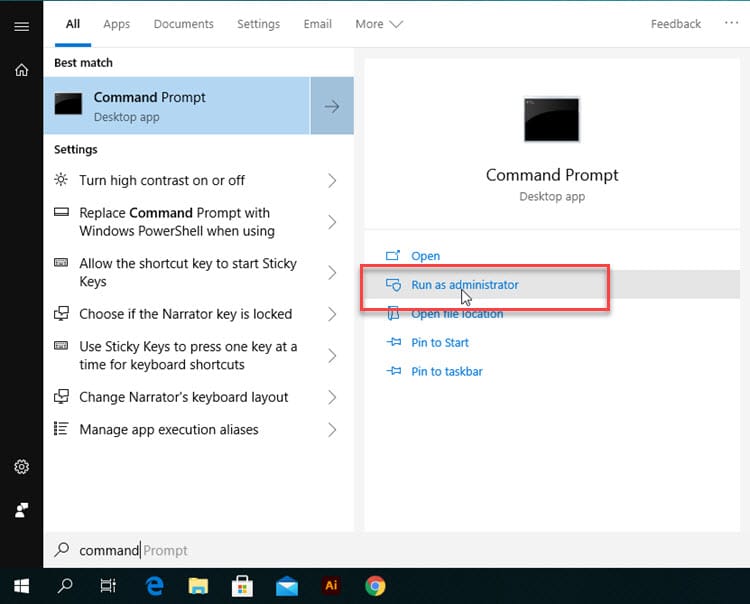
Now, re-open the Windows Command Prompt, but this time around, with Administrative privileges. You can do this by open the Windows start menu and search command prompt, then right-click and choose open as Administrator. This will open Command prompt with elevated rights
Once the Windows Command Prompt is open, use the netsh family of commands to create a Wifi Hotspot on Windows 10’s active network card by Entering:
netsh wlan set hostednetwork mode=allow ssid=Your preferred WiFi name key= Your Password
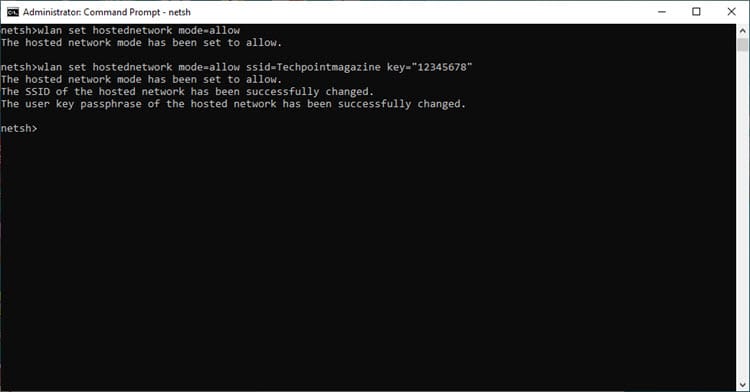
Once you press enter, your network name and password will be set, now, you’ll need to start the Wifi Hostpot, simply enter:
netsh wlan start hostednetwork
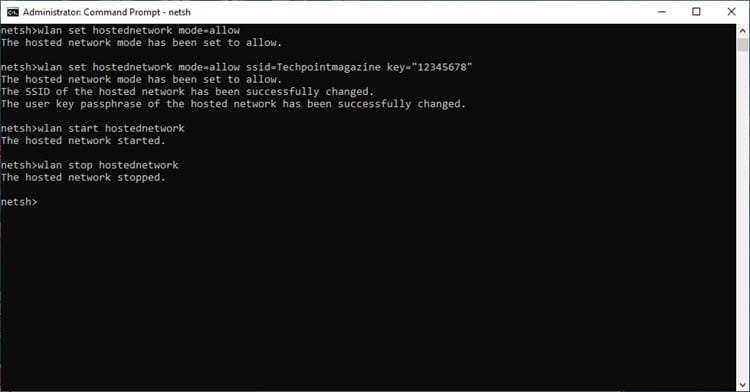
DONE: Your WiFi Hotspot will be activated and can be accessed on other devices that support WiFi.
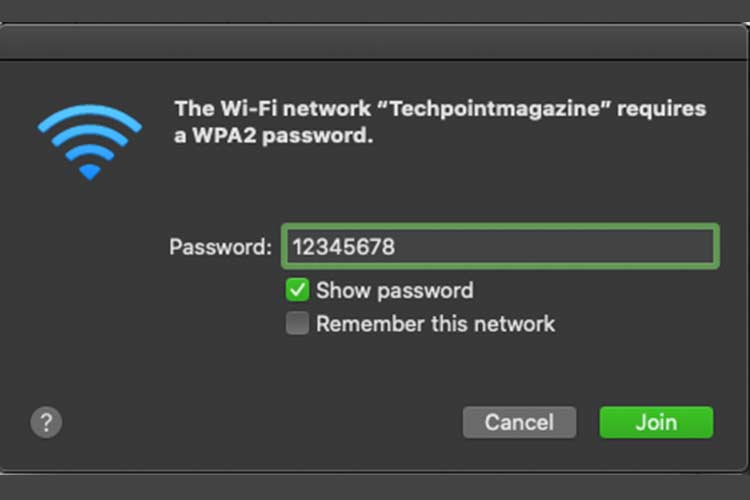
By default, when you create a WiFi hotspot on Windows 10 with a password, its type will be set to WPA2 standard since it ranks as one of the most secure WiFi encryption mechanisms. Also, WiFi devices with similar bands with your computer will access more Internet speeds to due low overlap channels as opposed to devices that may differ in WiFi card capability.
All in all, it’s easy to share your Internet connection on Windows 10 by simply creating a WiFi hotspot other users and devices can swiftly connect to. By the same standard, you can create a Hotspot on mac to share your Internet connection with other devices like your iPhone or Android Smartphone.